How to Seal Gaps to Stop Mice: A Homeowner's Guide to Rodent Exclusion
Why Sealing Gaps Is the First Step in Rodent Control
If you've ever dealt with a mice infestation, you know the frustration. You set traps, you clean up droppings, and yet the scratching in the walls continues. The reason is simple: mice are expert at finding and exploiting tiny openings. The most effective long-term strategy is not just trapping the mice already inside; it's preventing new ones from getting in. That means you need to seal gaps to stop mice at the source. This is the core of rodent exclusion, and it requires a methodical approach, the right materials, and a bit of patience.
In my years working in pest control around Cleveland, TN, I've seen homes that were practically sieves. A single mouse can squeeze through a hole the size of a dime. A rat needs only a quarter-inch gap. So when a homeowner tells me they've caught ten mice in a week, I know there are at least ten entry points somewhere in the structure. The fix is never just one hole; it's a whole-house inspection and a lot of sealing.
Understanding Entry Points: Where to Look First
Before you buy any sealant or hardware cloth, you need to find where mice are getting in. Common entry points include gaps around utility lines (gas, water, electric), where siding meets the foundation, around windows and doors, and at rooflines where soffits meet the walls. Mice are also fond of chewing through old weatherstripping or squeezing under garage doors that don't seal tightly.
One often-overlooked area is the junction between the foundation and the wood framing above it. Over time, foundation cracks can develop, especially in older homes. Even a hairline crack can be widened by a mouse's gnawing. I once spent an afternoon in a crawlspace in Cleveland, TN, tracing a persistent mouse problem back to a gap no bigger than a pencil eraser around a PVC pipe. That tiny opening was the highway for an entire family of rodents.
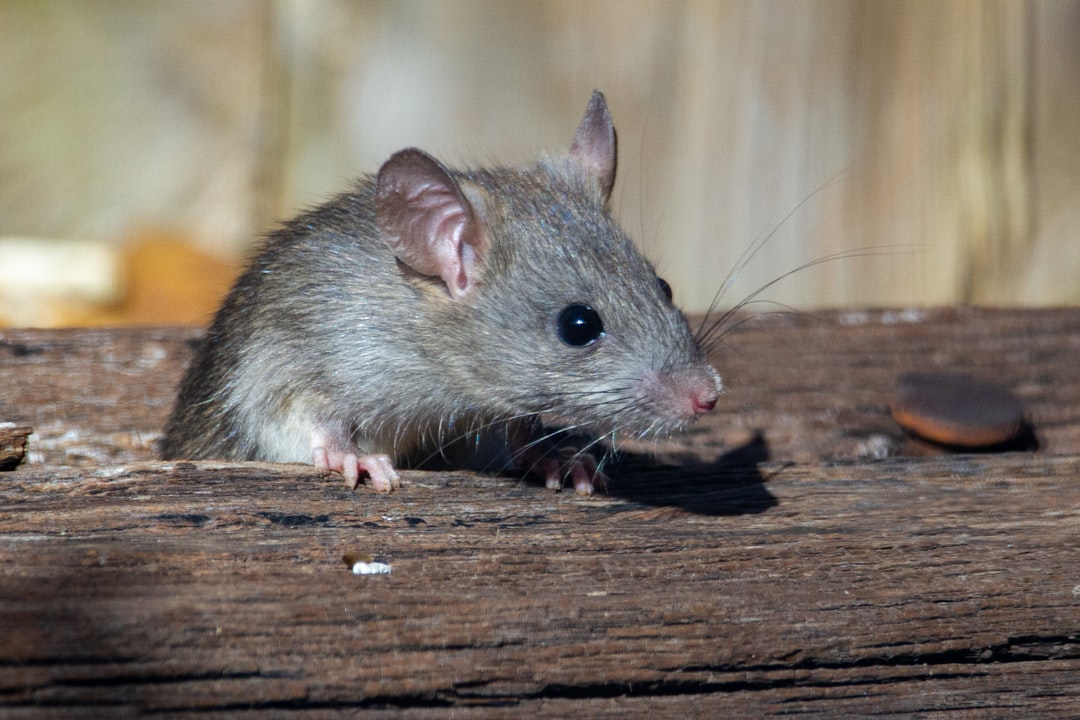
Materials That Work: Choosing the Right Sealant
Not all sealants are created equal when it comes to rodent-proofing. Mice can chew through soft materials like standard foam insulation or plain caulk in minutes. You need a combination of physical barrier and durable sealant. Here are the materials I recommend based on real-world experience:
- Copper mesh, Unlike steel wool, copper mesh does not rust or corrode. It can be stuffed into gaps and then sealed over. Mice cannot chew through it.
- Steel wool, A cheaper alternative to copper mesh, but it will rust over time, especially in damp areas. Use it as a temporary filler if you must, but plan to replace it with copper mesh eventually.
- Hardware cloth, A galvanized wire mesh with small openings. Great for covering larger openings like vents or soffit gaps. Cut it to size and screw or staple it in place.
- Polyurethane foam, Specifically, a rodent-resistant formula like Great Stuff. Standard expanding foam can be chewed through, but the "pest block" versions contain bitterants and are denser. Even then, it's best used as a secondary seal over copper mesh or steel wool.
- Silicone caulk, Good for sealing small cracks and for finishing the edges of other materials. It remains flexible, so it won't crack with temperature changes.
The key is to never rely on a single material. A proper seal combines a physical barrier (mesh or wool) with a durable sealant (foam or caulk) to lock it in place and prevent the mouse from pulling the material out.
Step-by-Step: How to Seal Gaps to Stop Mice
Let me walk you through the process I use on every exclusion job. This is not a one-size-fits-all, but it covers the basics that apply to most homes.
First, do a thorough inspection. Get a flashlight and a mirror on a stick. Check the attic, basement, crawlspace, and every exterior wall. Look for droppings, rub marks along pipes, and actual holes. Mark each location with tape or a photo.
Second, choose your material based on the gap size. For gaps under 1/4 inch, silicone caulk alone may suffice. For gaps from 1/4 inch to 1 inch, stuff in copper mesh or steel wool, then seal over it with polyurethane foam or caulk. For gaps larger than 1 inch, cut a piece of hardware cloth, attach it with screws or heavy-duty staples, and then seal the edges with caulk.
Third, don't forget the doors and windows. Replace worn weatherstripping. Install door sweeps on exterior doors. Make sure the sweep touches the threshold. Mice can squeeze under a door with just a 1/4 inch gap.

Finally, after sealing, monitor the area. Set up a few glue boards or snap traps near the sealed points to catch any mice that were trapped inside. This is where trapping becomes part of the process. You seal the gaps to stop mice from coming in, but you also need to deal with the mice already inside.
Why Professional Help Matters
I've been doing this long enough to know that some jobs are best left to professionals. A homeowner can handle obvious gaps, but a thorough exclusion requires experience. For example, finding every entry point in a complex roofline or behind siding takes a trained eye. That's where a service like Hiwassee Pest Control comes in. They specialize in rodent exclusion and trapping, and they offer a service guarantee that covers the work. In Cleveland, TN, they're known for doing the job right the first time.
Integrated pest management (IPM) is the philosophy behind this approach. It means using a combination of methods: exclusion, sanitation, trapping, and sometimes baiting, but with a focus on prevention. You don't just kill the mice; you make it impossible for them to return. That's why you seal gaps to stop mice, rather than just relying on poison or traps alone.
Common Mistakes and How to Avoid Them
One mistake I see often is using the wrong material. Someone will stuff a hole with steel wool and call it done. But if that steel wool gets wet, it rusts and falls apart. Or they use standard polyurethane foam, which mice chew through like it's cheese. Another mistake is sealing only the obvious holes and missing the hidden ones. I once worked on a house where the homeowner had sealed every hole in the basement but missed a gap behind the kitchen cabinets where the plumbing came through the wall. That was the main entrance.
Also, do not rely solely on caulk for large gaps. Caulk is not structural. A determined mouse can push through a bead of silicone caulk if there's nothing behind it. Always combine caulk with a mesh or wool for structural repairs that last.
Maintenance and Long-Term Prevention
Rodent-proofing is not a one-time task. Over time, foundations settle, siding shifts, and new cracks appear. I recommend doing a walk-around inspection every spring and fall. Look for new gaps, especially around utility entries and the foundation. Reapply caulk if it has cracked or pulled away. Replace weatherstripping if it's worn. And if you see signs of mice again, don't wait. Call a professional for a full exclusion audit.

In the end, the goal is to create a barrier that mice cannot breach. It takes work, but it's worth it. A mouse-free home is quieter, cleaner, and safer. And the peace of mind that comes from knowing you've sealed every possible entry point is something no trap can provide.
So grab your flashlight, your copper mesh, and your caulk gun. Start with the most obvious gaps and work your way around the house. If you do it right, you'll never have to wonder where that scratching sound is coming from again.